Ask any baker what defines perfect pastry, and they will almost always talk about texture. True pastry should be light, crisp, and tender, shattering delicately under a fork. Achieving that quality depends on gluten, the natural protein network in wheat that creates elasticity and traps steam during baking. When gluten is removed, so is that network, leaving many gluten-free attempts either dry, dense, or crumbly.
Yet with the right blend of ingredients and a little care, gluten-free pastry can be just as golden, layered, and satisfying as the classic version. The key is to understand what gluten does in a dough and how to replace its structure with balance, temperature control, and technique.
How to Make Flaky Gluten-Free Pastry Dough
Flakiness comes from layers of fat and dough that separate slightly during baking. When pastry hits a hot oven, the water inside the butter turns to steam, puffing up the layers and creating those crisp, delicate sheets of golden pastry. In traditional baking, gluten helps those layers stretch and hold their shape.
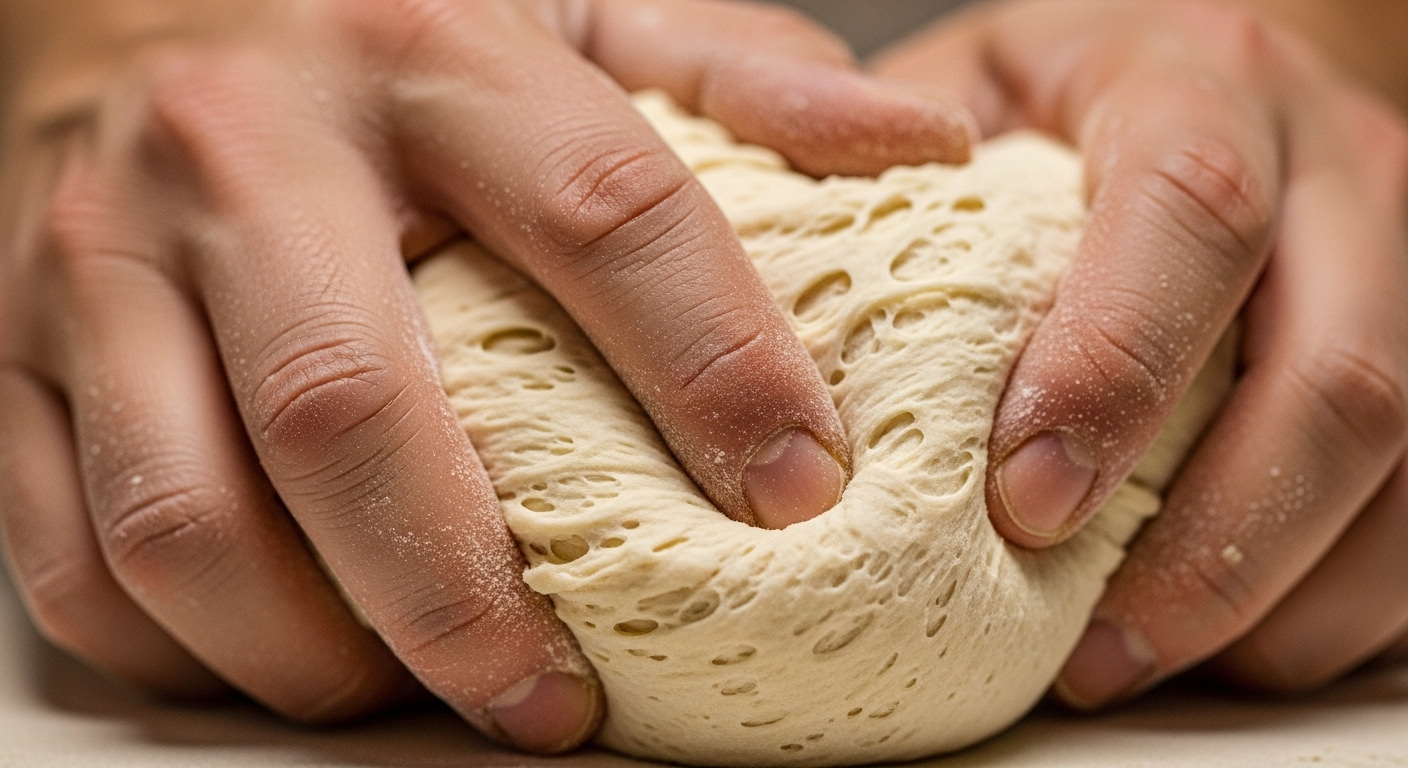
Without gluten, you have to rely on other structures to trap that steam. This is where moisture management and layering techniques matter most. The dough must be cold, pliable, and slightly moist but not sticky. Too dry and it falls apart; too wet and it becomes heavy or greasy. Success lies in finding the narrow middle ground where the dough holds together while still forming crisp, well-defined layers.
1. Classic All-Butter Gluten-Free Shortcrust Pastry
(Perfect for tarts, quiches, and pies)
Ingredients
-
250 g gluten-free plain flour blend (ideally a mix of rice, sorghum, and potato starch)
-
½ tsp fine sea salt
-
1 tsp xanthan gum or 1½ tsp psyllium husk powder
-
150 g unsalted butter, cold and cubed
-
60–80 ml ice-cold water (as needed)
Method
-
Combine dry ingredients. In a large bowl, whisk together the flour, salt, and binder until evenly distributed.
-
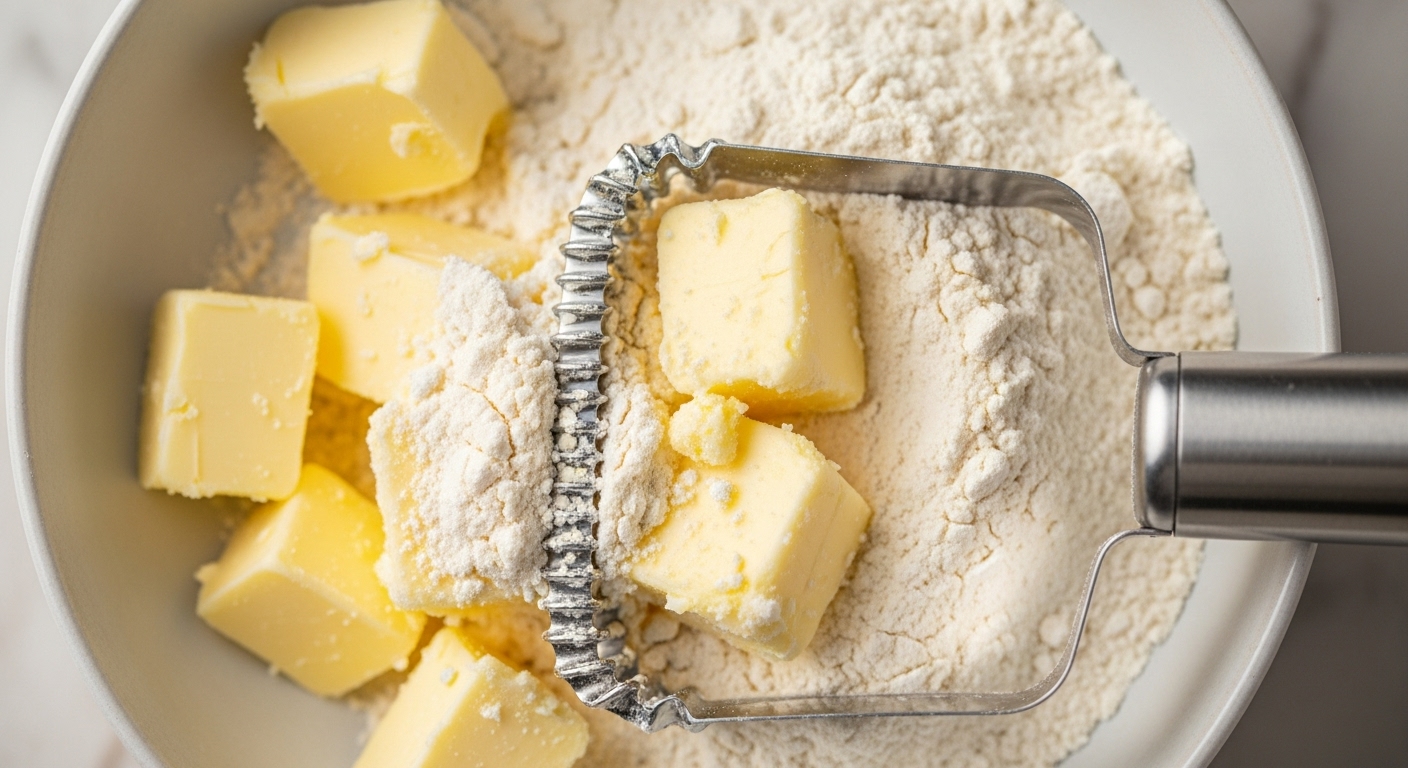
Rub in butter. Add cold butter cubes and use fingertips or a pastry blender to rub in until the mixture resembles coarse breadcrumbs, leaving a few larger pieces of butter visible — these create flakiness.
-
Add water gradually. Sprinkle in cold water, one tablespoon at a time, tossing gently with a fork until the dough begins to clump together. Stop once it just holds when pressed; don’t overwork it.
-
Chill the dough. Shape into a disc, wrap tightly, and chill for at least 45 minutes (up to 24 hours). Resting allows the flour to hydrate and firms the butter.
-
Roll and bake. Roll between two sheets of baking parchment to prevent sticking. Line a tin, trim edges, and chill again for 20 minutes before baking. Blind bake at 200°C (180°C fan) for 15 minutes with baking beans, then remove weights and bake 8–10 minutes until golden.
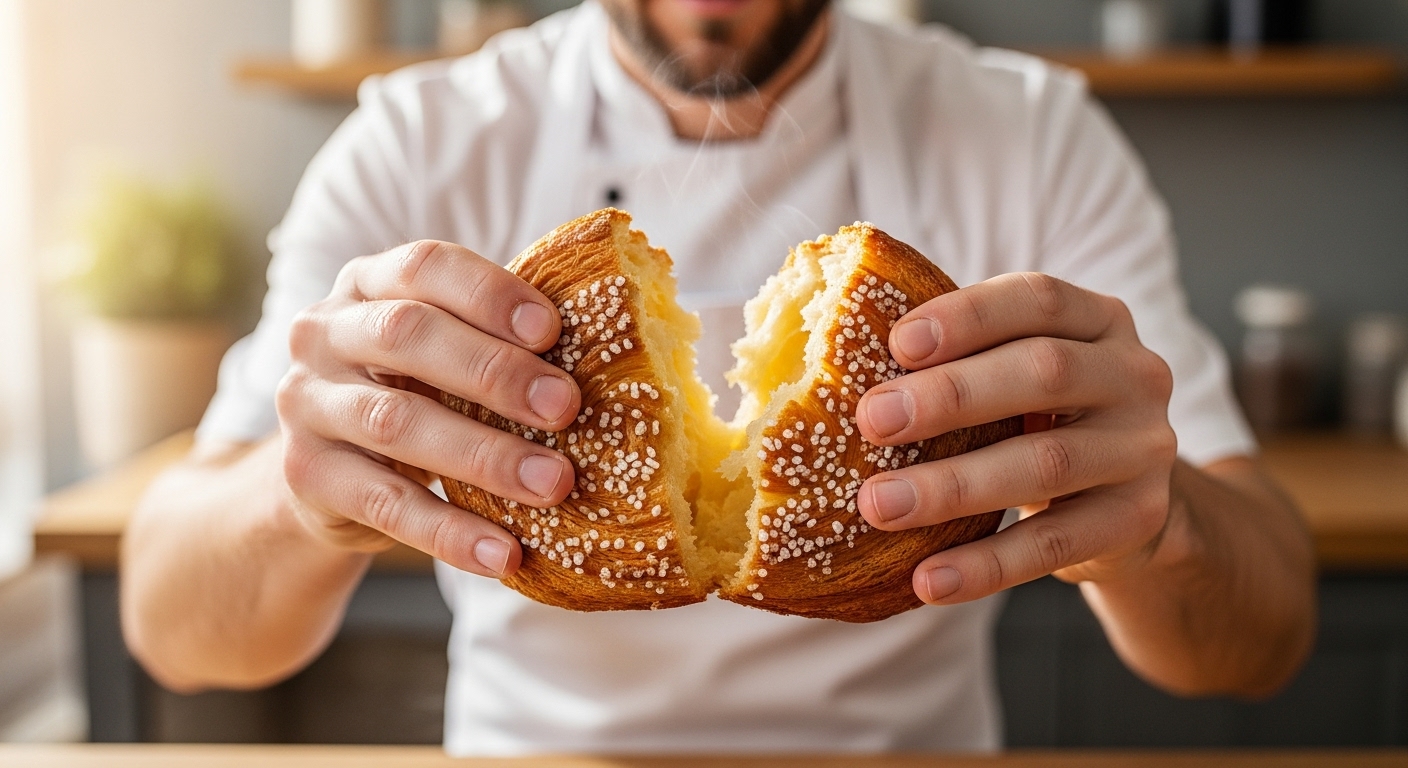
Result: crisp, buttery pastry with a tender bite — the closest you’ll get to a classic pâte brisée without gluten.
2. Dairy-Free Flaky Pastry (Vegan Puff-Style)
(Ideal for sausage rolls, turnovers, or rough puff pies)
Ingredients
-
250 g gluten-free flour blend (half white rice flour, half tapioca and cornflour)
-
1 tsp psyllium husk powder
-
½ tsp fine salt
-
180 g dairy-free block butter (not spreadable margarine), cold
-
80–100 ml ice-cold water
-
1 tsp lemon juice (helps elasticity and flavour)
Method
-
Prepare the base. Mix flour, psyllium, and salt in a bowl. Add 30 g of the butter and rub lightly to coat the flour.
-
Layer in fat. Slice the remaining cold butter into thin sheets and toss through the flour mixture. The aim is to leave visible streaks of fat.
-
Add liquid. Combine the cold water and lemon juice, then drizzle over the flour. Gently bring together with a fork — it should look shaggy, not smooth.
-
Fold and rest. Turn onto parchment, press lightly into a rectangle, and fold into thirds. Wrap and chill for 30 minutes.
-
Repeat laminations. Roll out again into a long rectangle, fold into thirds once more, and chill. Repeat twice, resting 20–30 minutes between folds.
-
Shape and bake. Roll to 3–4 mm thickness and use as needed. For maximum lift, start baking at 220°C (200°C fan) for 10 minutes, then lower to 190°C until crisp.
Result: beautifully layered pastry that puffs and flakes without dairy or gluten — perfect for golden, airy parcels or savoury slices.
3. Sweet Gluten-Free Pastry (Pâte Sucrée Style)
(For custard tarts, fruit pies, and dessert bases)
Ingredients
-
200 g gluten-free flour blend (mix of rice, almond, and cornflour for tenderness)
-
50 g ground almonds
-
100 g cold unsalted butter, cubed
-
75 g icing sugar
-
1 large egg yolk
-
1 tsp vanilla extract
-
1–2 tbsp ice-cold water (only if needed)
-
½ tsp xanthan gum
Method
-
Mix the dry base. Combine flour, almonds, icing sugar, and xanthan gum in a large bowl.
-
Cut in butter. Rub in butter using fingertips or a pastry blender until the mix resembles coarse sand with some small visible flecks of butter.
-
Add wet ingredients. Stir in the egg yolk and vanilla. If the dough looks too dry, add water a teaspoon at a time just until it holds together.
-
Rest and roll. Flatten into a disc, wrap, and chill for at least 1 hour. Roll gently between parchment to about 3 mm thickness.
-
Line and bake. Press into tins, prick with a fork, and freeze for 10 minutes before baking. Bake blind at 190°C (170°C fan) for 12–15 minutes, remove weights, and finish for another 8 minutes until golden.
Result: crisp, buttery, and sweet with delicate crumb — perfect for lemon tarts, chocolate ganache, or baked fruit fillings.
Bonus Tips for All Three Pastries
-
Always keep ingredients cold; even slight warmth softens fat and flattens layers.
-
Rest the dough between every major handling stage — hydration and temperature control make the difference between flaky and crumbly.
-
Use metal tins or baking trays for better heat conduction and crispness.
-
When possible, weigh ingredients rather than measuring by cup — precision is crucial in gluten-free baking.
Choosing the Right Gluten-Free Flours
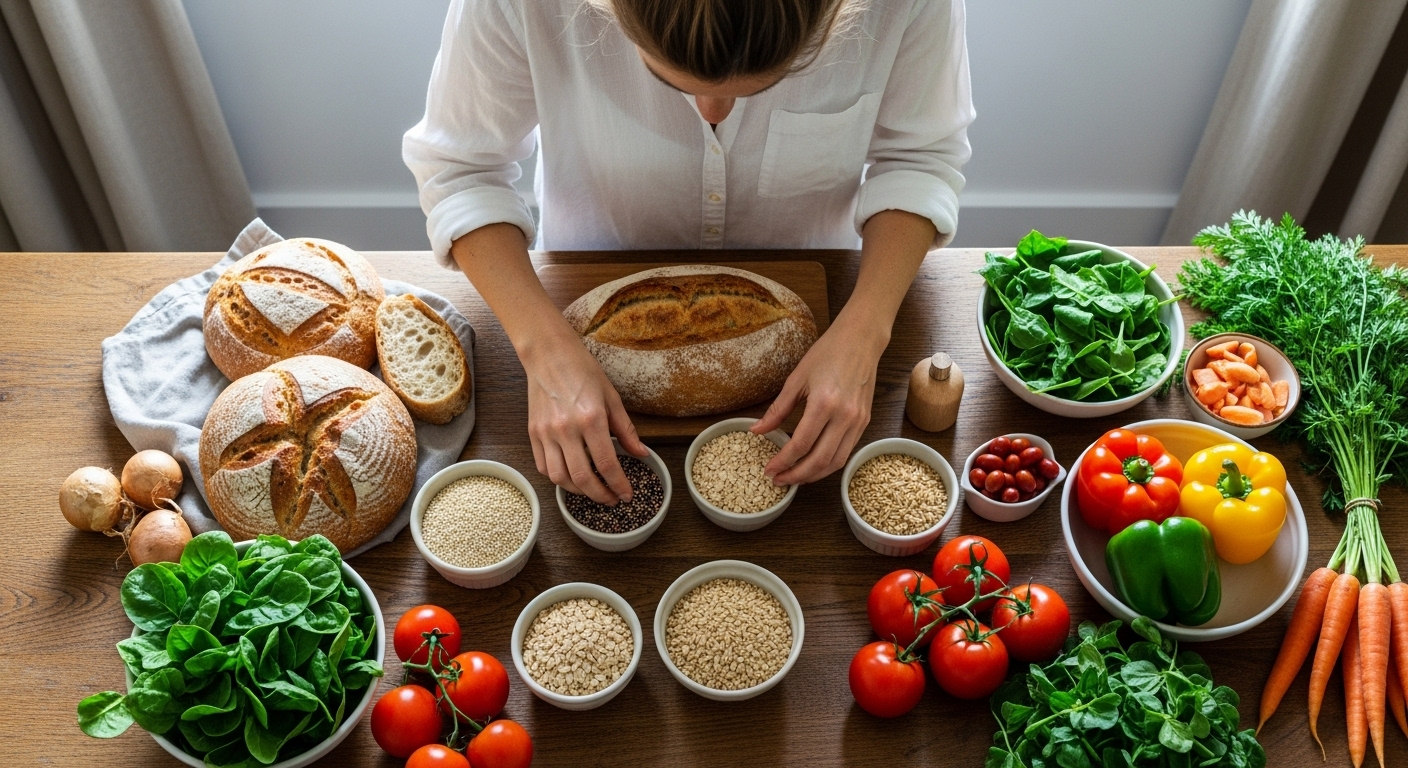
The foundation of any pastry is its flour, and gluten-free baking depends on a blend rather than a single type. Each flour has its own strengths. Rice flour brings lightness but can feel gritty on its own. Sorghum flour adds warmth and structure, while potato and tapioca starch provide stretch and tenderness. A good blend combines them in balance to mimic the behaviour of wheat — the same principle that helps gluten-free pasta achieve its familiar bite.
For general pastry work, start with a base mix of 50 per cent rice flour, 25 per cent sorghum, and 25 per cent combined starches (tapioca and potato). If you prefer a slightly heartier flavour, a spoonful of buckwheat or millet flour can add depth without heaviness. Avoid nut flours or coconut flour for this particular task; they absorb too much fat and moisture, making the pastry dense.
The real secret is to sieve your flour blend thoroughly. Fine aeration helps prevent clumping and ensures an even crumb once baked. Gluten-free pastry — like good pasta — benefits from lightness at every stage.
The Role of Binders and Gums
In gluten-free pastry, binders act as the scaffolding that holds everything together once the flour loses its gluten content. Without them, dough tends to crumble under pressure. Two popular binders work well in pastry: xanthan gum and psyllium husk.
Xanthan gum is ideal for creating elasticity and flexibility in shortcrust or puff-style doughs. A teaspoon per 250 grams of flour is usually enough. Psyllium husk, on the other hand, gives a slightly softer, more pliable texture and adds a touch of moisture retention, which helps during rolling. If you prefer a less processed option, psyllium husk is the more natural choice.
Whichever you use, mix it evenly with the dry ingredients before adding fat or water. Even distribution ensures a consistent texture rather than pockets of gum that can cause uneven structure.
Fat Matters: Choosing and Handling Butter or Alternatives
Butter is at the heart of flaky pastry. It creates those distinct, paper-thin layers that separate during baking. For best results, choose unsalted butter with a high fat content and keep it as cold as possible. The aim is to have small, visible pieces of butter within the dough that melt only once they reach the oven.
If you are dairy-free, block-style substitutes such as Stork Baking Block or Flora Plant Butter work well. Avoid soft spreads; they contain too much water and can collapse the pastry structure.
The most important rule when working fat into gluten-free flour is temperature control. Cut the butter into cubes and work it in gently using your fingertips or a pastry blender until it resembles coarse breadcrumbs with a few visible chunks. If the kitchen is warm, return the bowl to the fridge for a few minutes before continuing. Every time the dough feels soft, chill it again. Cold dough means distinct layers; warm dough means greasy collapse.
The Science of Hydration and Temperature
Water activates the binders and helps the dough come together, but too much moisture can ruin the texture. Always use ice-cold water, adding it gradually, a tablespoon at a time, until the mixture just holds together when pressed. The dough should look rough and shaggy rather than smooth. Smooth dough usually means overworked or overhydrated pastry.
Once the dough forms, shape it into a flat disc, wrap it tightly, and refrigerate for at least 30 minutes. This rest period allows the flour to absorb moisture evenly and lets the fats firm up again, both of which contribute to that signature flake when baking. Some bakers even rest the dough overnight for extra structure.
Rolling and Folding: Building Layers Without Gluten
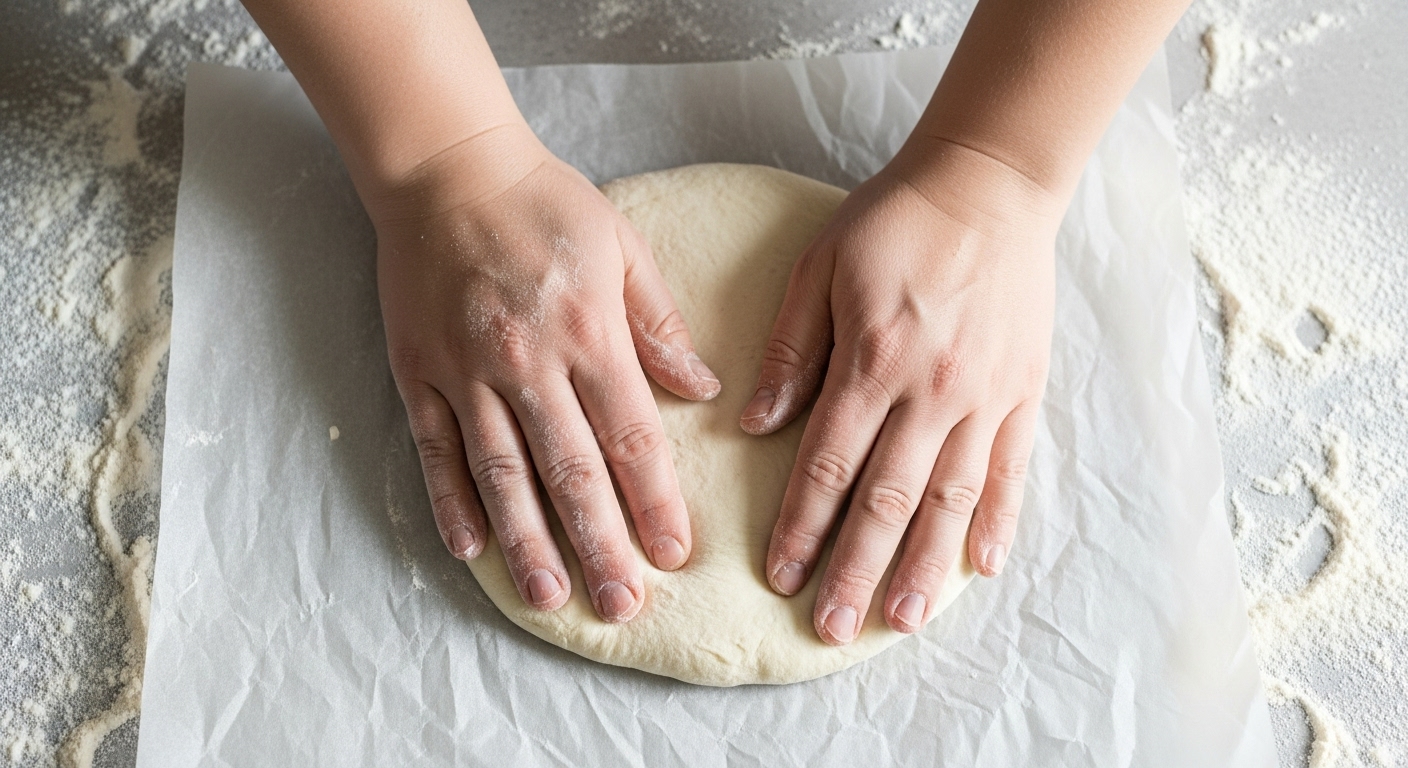
Rolling gluten-free pastry requires patience. Because there’s no gluten to make it stretchy, you need to handle it gently and use parchment paper on both sides to prevent sticking. Dust the paper lightly with gluten-free flour before rolling, and work from the centre outward with even pressure.
To create layers similar to puff pastry, fold the dough over itself a few times. A simple “book fold” (folding the dough in thirds, like a letter) followed by chilling helps form visible layers once baked. Repeat the fold-and-chill process two or three times for extra flakiness. Each chill should last about 20 minutes in the fridge or 10 minutes in the freezer.
These folds trap butter between layers of dough, and once baked, that butter releases steam, lifting the pastry naturally. You can use this method for pies, tarts, or even savoury pastries like sausage rolls.
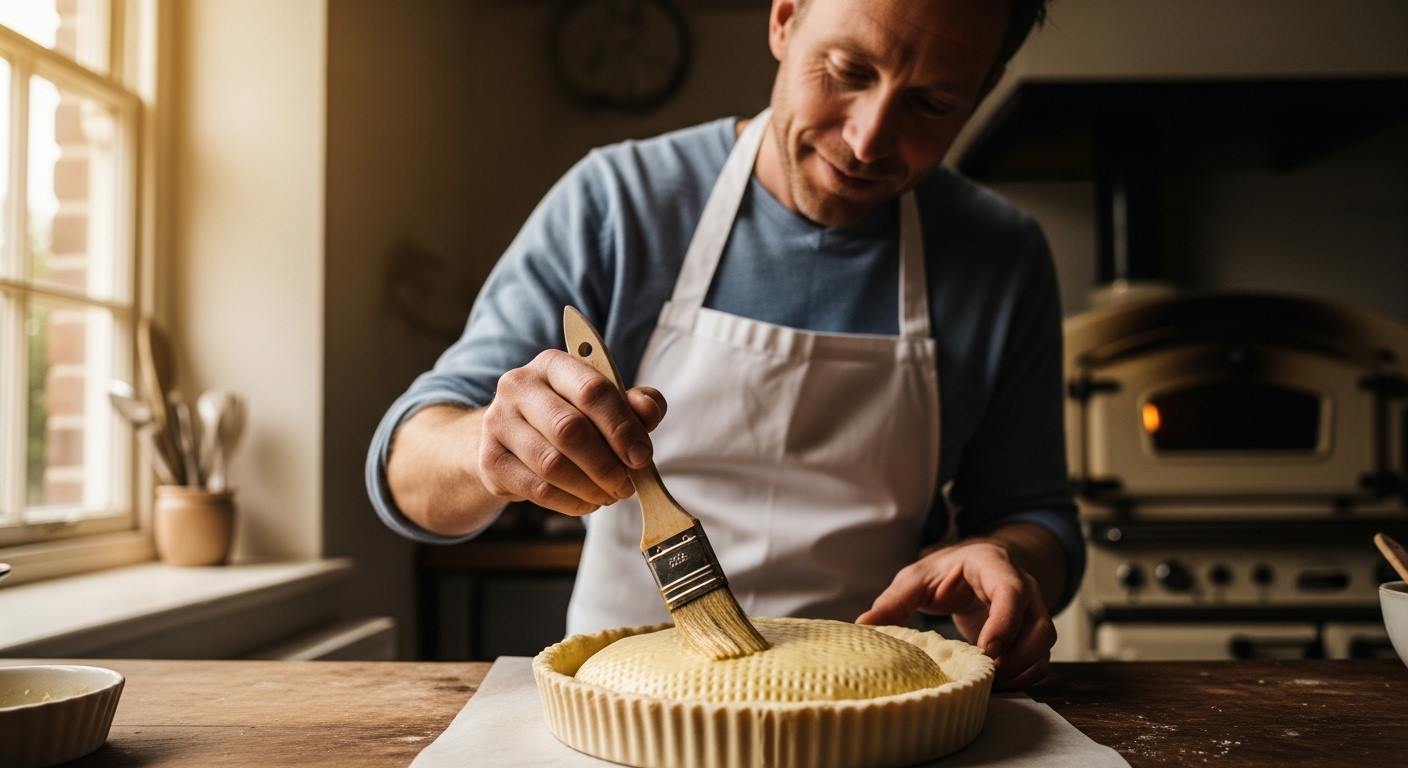
Blind Baking and Oven Temperature Tips
Heat is what transforms a good dough into a perfect pastry. Gluten-free pastry benefits from a hot start because high temperature creates a burst of steam that lifts the layers. Preheat your oven to around 200°C (fan 180°C) before baking.
If you’re making a tart or pie shell, blind bake it first to prevent sogginess. Line the pastry case with parchment paper and fill with ceramic baking beans or dry rice. Bake for about 15 minutes, then remove the weights and bake for another five to ten minutes until lightly golden.
Watch closely — gluten-free flours brown faster than wheat. Once baked, let the crust cool slightly before adding fillings. This helps set the texture and prevents cracks.
Troubleshooting Common Problems
Every baker encounters the occasional mishap, and gluten-free pastry has its quirks.
If the dough crumbles when rolled, it usually needs a touch more water or an extra pinch of binder. Sprinkle ice water over the dough, a teaspoon at a time, and press gently until it comes together.
If it feels gritty, it has not rested long enough for the flour to hydrate. Let it sit in the fridge for another 30 minutes and try again.
If it turns greasy or heavy, the butter has melted too early. Work faster next time or chill more frequently between steps. Always handle pastry on a cool surface if possible.
Overbaking can also dry the pastry out, so remove it from the oven as soon as it turns golden and firm.
Storage and Freezing
Gluten-free pastry keeps well if stored properly. Wrap the dough tightly in cling film or a reusable silicone bag and refrigerate for up to three days. For longer storage, freeze it for up to one month. To use, defrost overnight in the fridge, then re-chill before rolling to ensure it remains firm and workable.
You can also freeze baked pastry shells. Cool them completely, wrap securely, and reheat at 180°C for five minutes to refresh the texture.
Conclusion: How to Make Flaky Gluten-Free Pastry Dough
Flaky gluten-free pastry is not a myth. It simply demands precision, patience, and respect for temperature. Once you understand how to balance flour blends, control moisture, and layer fat properly, the results rival any traditional pastry.
With practice, you’ll find the process almost meditative — the cool butter, the sound of rolling pin on parchment, the reward of those golden, delicate layers emerging from the oven. Mastering gluten-free pastry is more than just adapting a recipe; it’s reclaiming the joy of baking in its most tactile, satisfying form.