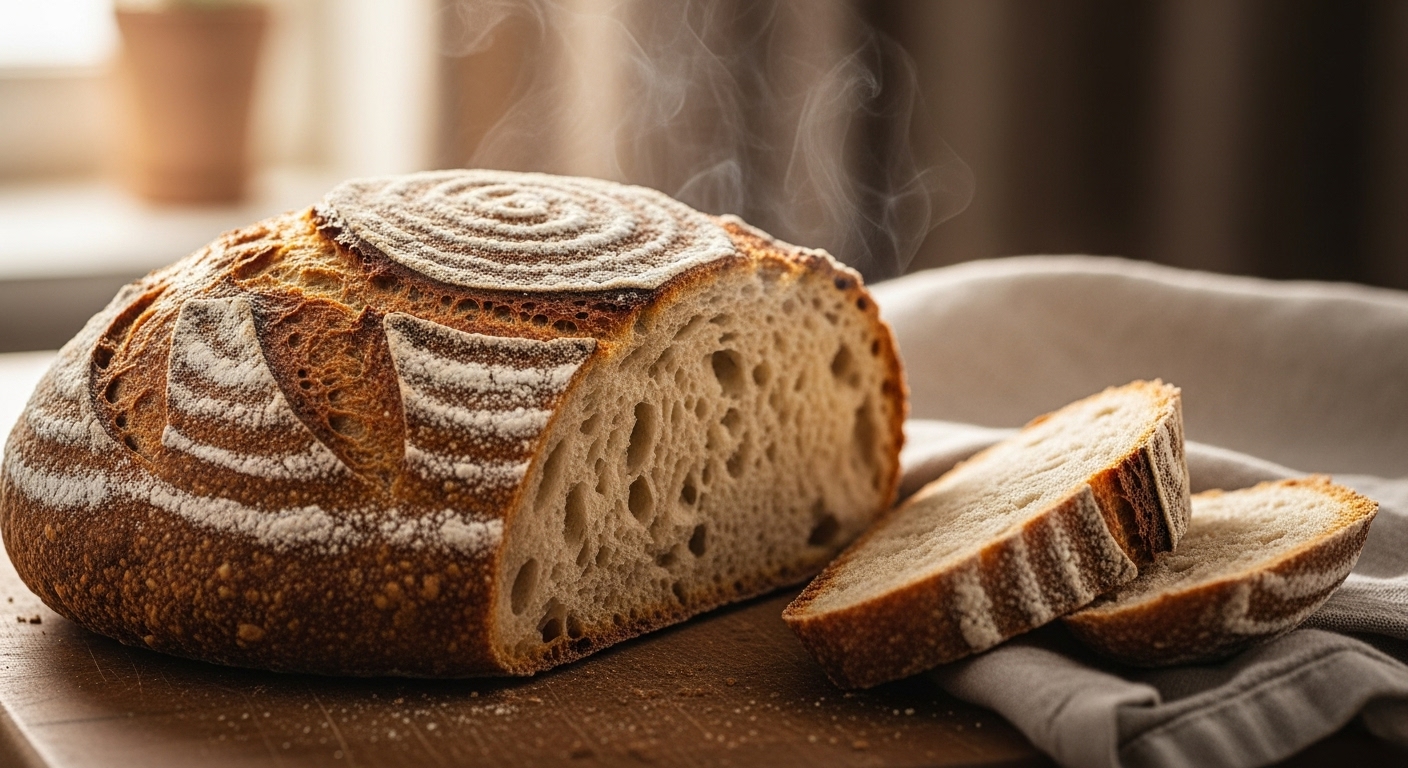
If you’ve ever baked a gluten-free cake that turned out crumbly or a loaf that felt gummy in the middle, you’ve already discovered how crucial moisture control is. Unlike traditional baking, where gluten naturally traps water and creates elasticity, gluten-free recipes rely on a delicate balance — too little moisture and your bake crumbles apart; too much and it collapses under its own weight.
Moisture is the quiet architect of every successful gluten-free bake. Mastering how to adjust moisture levels in gluten-free recipes means learning how flours behave, how binders hold liquid, and how environment, temperature, and timing all influence results. Once you understand that relationship, gluten-free doughs and batters become far more predictable — and infinitely more rewarding.
Understanding the Science of Moisture in Gluten-Free Baking
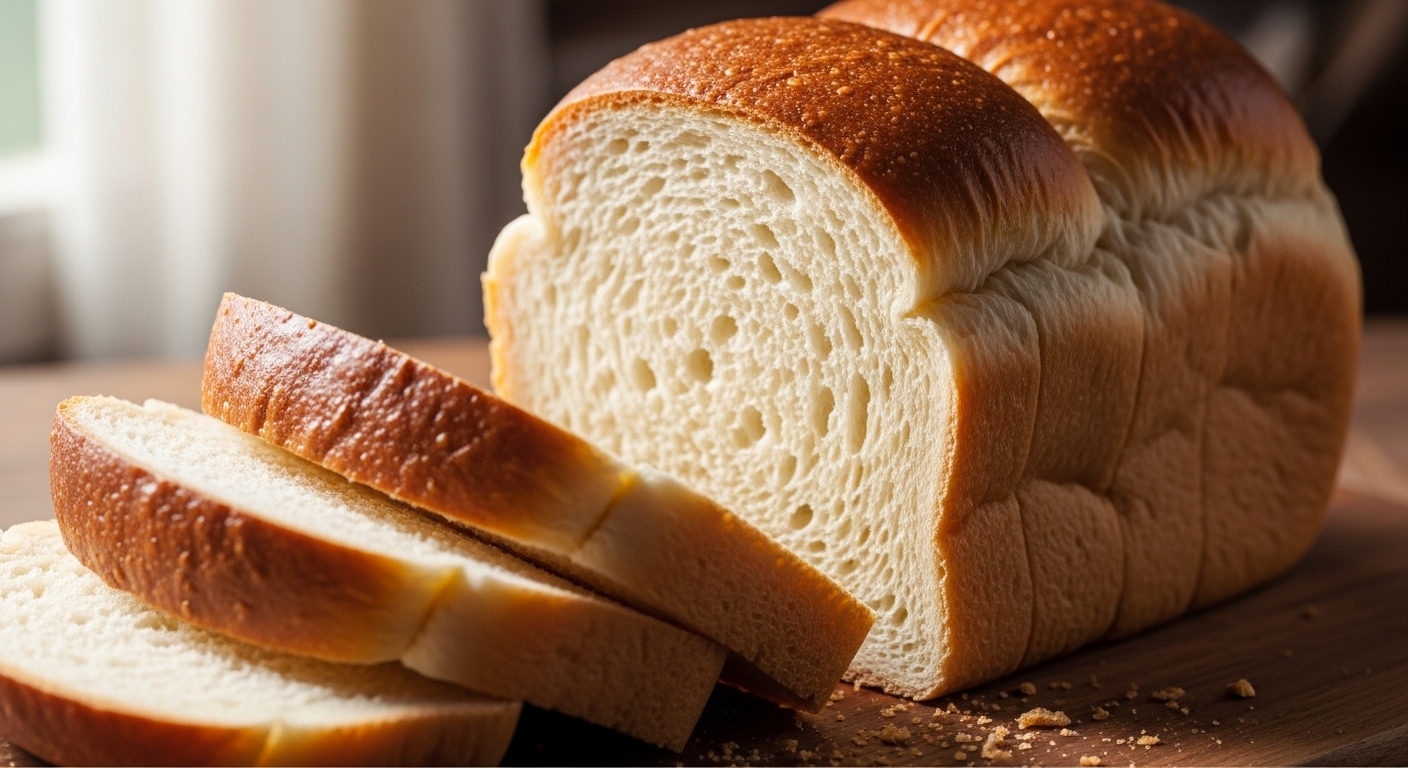
In wheat-based baking, gluten acts like a sponge and a net at once. It holds water inside a structured matrix that traps gas and keeps the bakes soft yet firm. When gluten is removed, that structure disappears, and the water behaves differently. Some evaporates too quickly; it sits in pockets, creating gummy centres.
Each starch or flour in a gluten-free blend absorbs water at a different rate. Some, like rice or corn, soak up moisture instantly and then dry out fast. Others, like sorghum or oat, take longer to hydrate but hold water better once absorbed. This diversity is both a challenge and an opportunity — it allows for customisation, but it also means there’s no universal moisture ratio.
The key is to stop thinking of recipes as fixed and start treating them as adaptable systems. Gluten-free baking thrives on observation and adjustment.
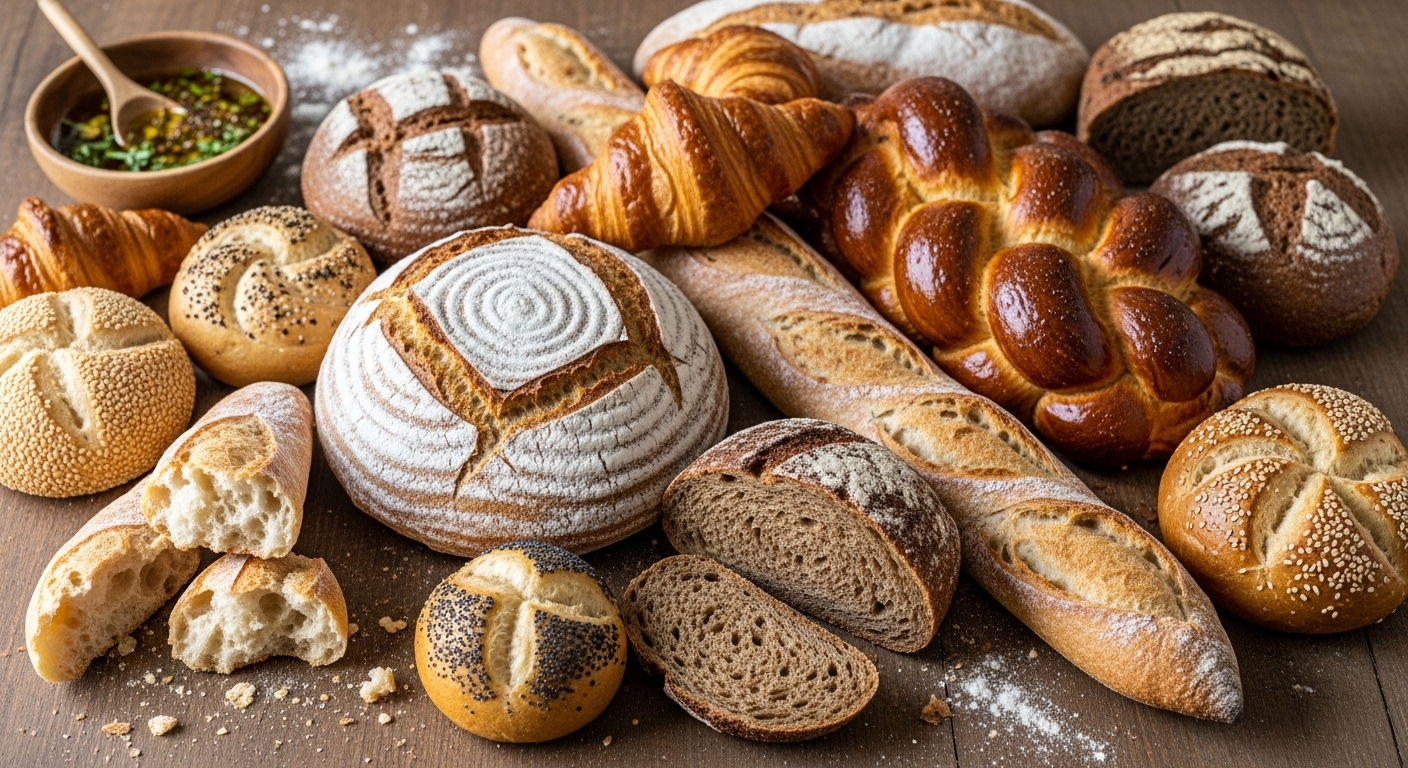
How Different Gluten-Free Flours Handle Moisture
Knowing how each flour behaves will transform your results. Each has a unique absorption and retention pattern that affects texture, hydration, and even flavour.
-
Rice Flour: Absorbs liquid quickly and gives a fine, smooth texture. However, it dries out faster than most flours, which can make breads or cakes crumbly within a day or two. Balancing rice flour with slower-hydrating options prevents dryness.
-
Tapioca Starch: A master of elasticity and chew. It doesn’t hold much water long, but creates a moist, glossy texture in the short term — great for stretch and crisp crusts.
-
Oat Flour: Smooth and creamy, oat flour gives consistent hydration and prevents grittiness. It’s excellent for cakes and muffins where tenderness matters.
-
Sorghum Flour: Slower to absorb but retains moisture beautifully, lending a slightly nutty flavour and soft crumb. Ideal for sandwich loaves or soft rolls.
-
Buckwheat Flour: Dense and dark, it brings earthy flavour and structure. It holds water well but needs pairing with lighter flours for lift.
-
Potato Starch or Cornstarch: Excellent for soft crumb and moisture retention, but too much leads to gumminess. Best used as a small percentage of blends.
A smart blend usually combines quick-absorbing flours (for structure) and slow-absorbing ones (for moisture stability).
Signs Your Gluten-Free Mix Is Too Dry or Too Wet
Reading texture is more reliable than following any hydration percentage. Gluten-free doughs and batters signal imbalance clearly if you know what to look for:
-
Too dry: Cracks when shaped, dull surface, gritty or crumbly crumb after baking. It doesn’t spread or rise properly and can look pale or chalky.
-
Too wet: Feels sticky or gluey, sticks to fingers and baking tools, collapses after baking, or produces a gummy centre.
In general, gluten-free doughs should feel wetter than wheat doughs — closer to a thick batter or clay-like texture than traditional elasticity. If it holds together softly without breaking apart, the moisture is usually right.
Adjusting Moisture Before Baking
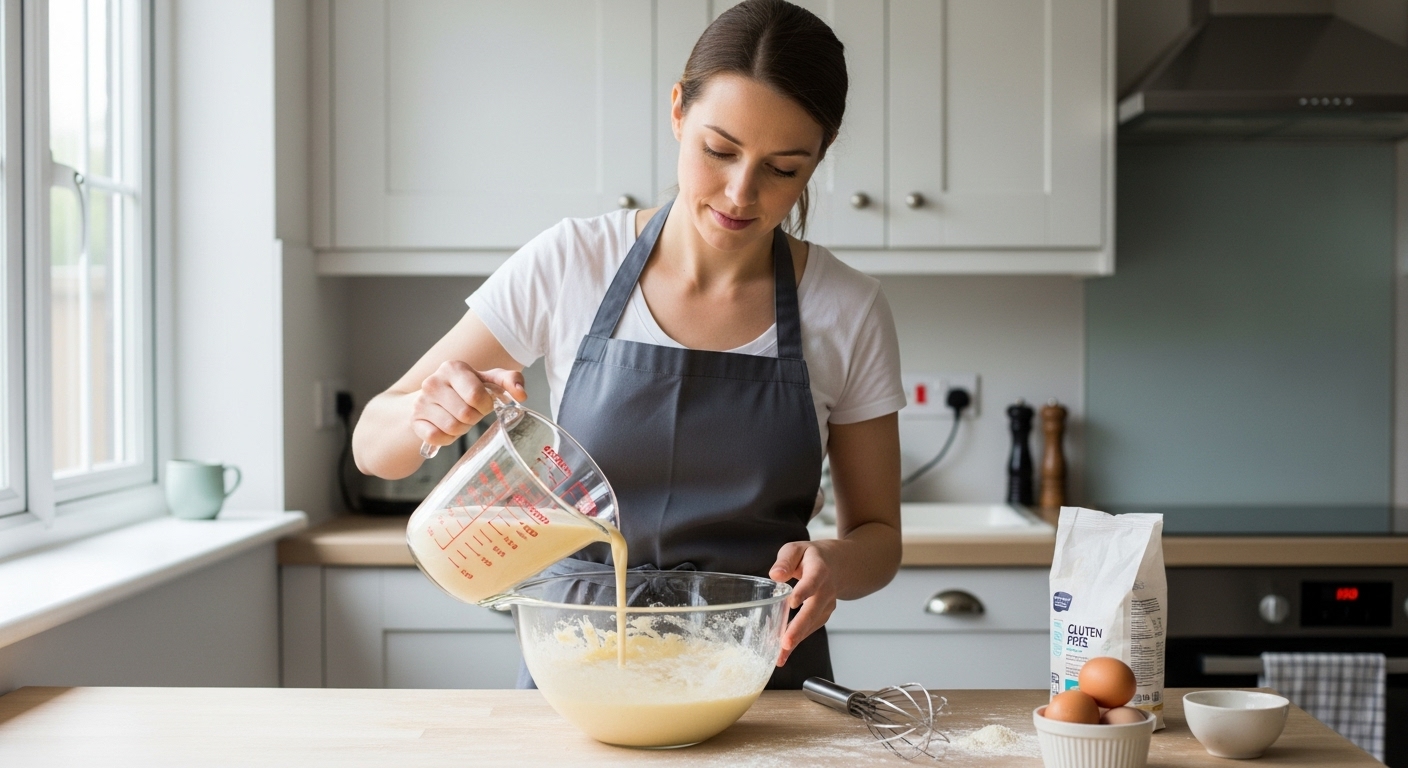
Moisture adjustment starts before the oven — in the mixing bowl. The rule of thumb is to add liquid gradually. It’s easier to fix dryness than to correct soggy dough.
Once mixed, let the dough rest for 20–30 minutes before shaping. Gluten-free flours absorb moisture more slowly than wheat, so what looks wet now may firm up after resting. This resting stage allows binders like psyllium or xanthan gum to form their gel structures fully, transforming stickiness into pliability.
Pro Tips:
-
Always mix dry ingredients first to distribute starches and gums evenly.
-
Use lukewarm water (around 30–35°C) to activate binders evenly without melting fats.
-
Resist the urge to overmix — gluten-free doughs don’t benefit from kneading in the traditional sense.
This patient, stepwise approach builds internal cohesion before baking even begins.
Binders and Their Role in Water Retention
Without gluten, binders become the framework that traps and holds water. They’re what turn a loose mix into a cohesive dough and prevent bakes from drying out.
Key Binders for Moisture Control
-
Psyllium Husk: Absorbs many times its weight in water, forming a gel that locks in moisture and adds structure. It gives chewiness and keeps bread soft for days.
-
Xanthan Gum: Works instantly to hold water and add elasticity. Use sparingly — too much creates a rubbery texture.
-
Ground Flaxseed or Chia Gel: Provide natural emulsifiers and fibres that slow moisture loss. Ideal for rustic loaves and vegan recipes.
Each binder also influences the “feel” of dough. Psyllium-based doughs often need more water but yield stretchier results, while xanthan-heavy doughs can feel drier but bake crisp.
Adjusting binder amounts is a simple way to modify texture:
-
If your bake crumbles, increase psyllium or add a spoonful of oil.
-
If it feels gummy, reduce the binder slightly or add extra flour.
Balancing Fats and Liquids for Optimal Texture
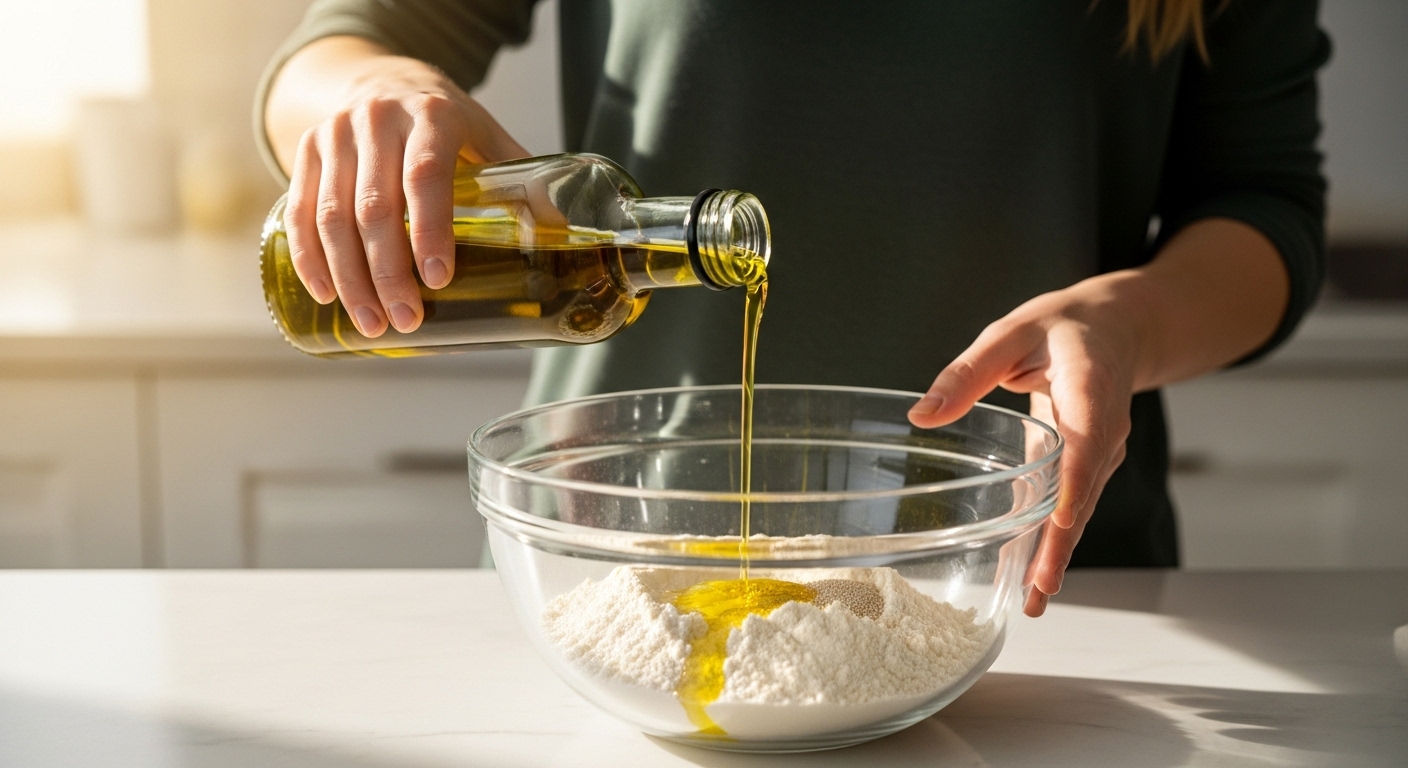
Fats don’t just add flavour; they affect how water moves through your dough. In gluten-free recipes, a good fat balance softens structure, slows drying, and enhances mouthfeel.
-
Butter and Oils: Coat starch granules, delaying water absorption. This helps doughs stay moist longer but requires careful mixing to prevent separation.
-
Nut Butters and Coconut Milk: Add richness and density, perfect for cakes or cookies, but too heavy for breads unless balanced with lighter liquids.
-
Fruit Purees and Yoghurt: Provide natural moisture and acidity that keep bakes tender without adding excess fat.
If your loaf feels dense, reduce heavy fats slightly and replace part of the liquid with water or milk. For dry or crumbly results, add 1–2 tablespoons of fat or a spoonful of yoghurt to the mix.
Remember that fats and liquids compete for absorption — if you add more fat, you may need slightly less water.
Using Eggs, Milk, and Dairy Alternatives
Eggs are nature’s best emulsifiers and binders, making them invaluable in gluten-free baking. They provide both structure and moisture, giving doughs resilience and preventing collapse.
If you’re using plant-based alternatives, you’ll need to adjust ratios more carefully:
-
Full-fat cow’s milk adds moisture and richness but can brown bakes faster.
-
Almond milk is lighter and often requires slightly more quantity to reach the same hydration.
-
Coconut milk brings fat and thickness — great for cakes, but less suitable for airy breads.
-
Oat milk offers a balanced texture for everyday baking.
As a guide, replace one large egg with a mix of 3 tablespoons liquid + 1 teaspoon oil + ½ teaspoon binder (e.g., flax or psyllium) in vegan recipes.
Environmental Factors That Affect Moisture
Your kitchen’s climate has more influence on gluten-free baking than you might expect. Humidity and temperature directly impact how flours absorb and release water.
-
In humid weather, flours contain more ambient moisture. Reduce added liquid by 5–10%.
-
In dry climates, add a tablespoon or two of extra liquid and extend resting times.
-
Always store flours in airtight containers to prevent moisture imbalance from condensation or dryness.
If your results change seasonally, humidity is probably the culprit — not your recipe. Keeping notes on weather and outcomes will help refine consistency over time.
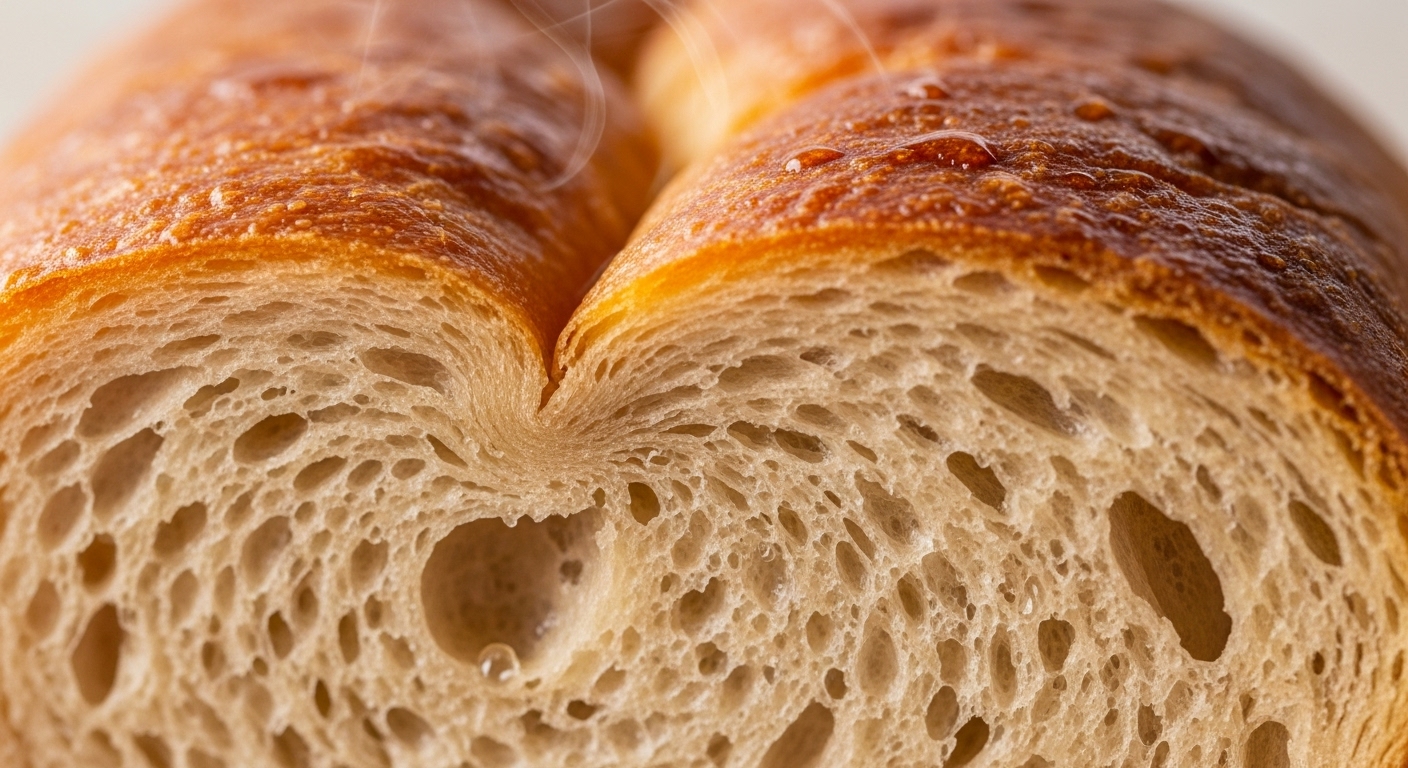
Moisture Retention During Baking
Moisture doesn’t only matter before baking — how you bake determines how much water stays in the finished product.
Start with a hot oven (around 220–230°C) for breads to create initial steam and oven spring. After 10–15 minutes, reduce to 190–200°C to set the crumb gently without over-drying the crust.
For cakes or muffins, moderate heat (170–180°C) ensures even moisture distribution. High heat too early can cause cracking or domed tops.
Tricks for Retaining Moisture
-
Bake bread in a covered Dutch oven or with a tray of hot water to create steam.
-
Cover cakes loosely with foil for the last 10 minutes to prevent over-browning.
-
Always cool bakes on wire racks to release steam evenly and prevent sogginess.
Good baking isn’t just about time — it’s about controlling the environment from mixing bowl to cooling rack.
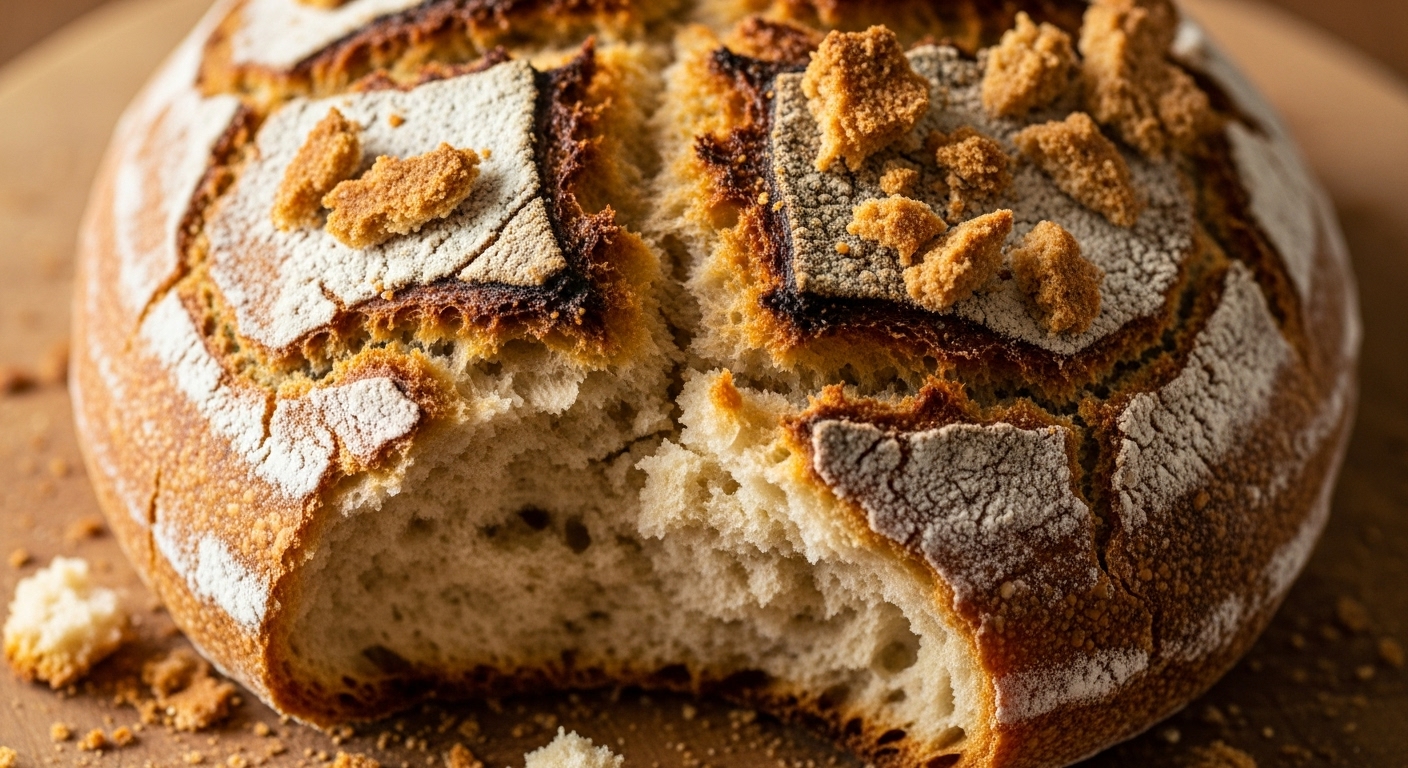
Troubleshooting: Fixing Moisture Imbalance
When something feels off, the fix is usually small. Moisture imbalance rarely requires starting over; it’s about fine-tuning.
| Problem | Probable Cause | Fix |
|---|---|---|
| Crumbly texture | Too little water or fat | Add 1–2 tbsp water or oil next batch |
| Dense loaf | Underhydrated or underproofed | Increase the liquid slightly and extend the rise |
| Gummy crumb | Excess water or underbaking | Bake longer or reduce the liquid by 10% |
| Dry crust, pale inside | Oven too hot or short bake time | Lower the heat and bake longer |
| Sticky dough | Overhydrated or binder imbalance | Add a spoonful of flour or chill for 15 minutes |
Take notes each time you bake — even one one-tablespoon difference can completely change texture.
Testing for Ideal Moisture: The “Squeeze and Bounce” Method
Professional bakers rely on touch as much as ratios. Before baking, take a small piece of dough and perform the squeeze test:
-
Squeeze it gently in your palm — it should compress without cracking.
-
Release your hand — it should spring back slowly, not stick or crumble.
That bounce indicates the right moisture-to-binder balance. Over time, this tactile sense becomes instinctive, and you’ll recognise perfect hydration by feel alone.
Document your ratios, flour brands, and humidity notes. Consistency comes from understanding your ingredients and conditions, not just following recipes blindly.
Putting It All Together: A Moisture Mastery Example
Let’s see this in action with a classic gluten-free loaf structure:
Example Formula (Soft Sandwich Bread)
-
400 g gluten-free flour blend (200 g rice, 100 g sorghum, 60 g potato starch, 40 g tapioca)
-
3 tsp psyllium husk
-
1 tsp salt
-
2 tsp sugar
-
7 g instant yeast
-
2 tbsp olive oil
-
1 large egg (or substitute)
-
420–450 ml warm water
Method Highlights:
-
Mix dry ingredients first, dispersing psyllium and yeast evenly.
-
Add liquids gradually until a thick, elastic batter forms.
-
Rest for 30 minutes, covered. Check texture — it should hold shape but remain slightly sticky.
-
Proof, bake hot, and cool on a rack.
Adjust liquid next time based on texture notes — that’s how professional bakers refine hydration to perfection.
Conclusion: How to Adjust Moisture Levels in Gluten-Free Recipes
Hydration balance is the heart of successful gluten-free baking. Once you understand how flours, binders, fats, and the environment interact, the unpredictability disappears.
Every crumb, every crust, every bite depends on water — how much you add, how long it rests, and how you bake it. By treating moisture as an ingredient rather than an afterthought, you move from guesswork to control.
In gluten-free baking, precision builds confidence. Small, mindful tweaks make recipes repeatable, textures reliable, and results consistently delicious. With each bake, you’ll find your sweet spot — that perfect point where your dough is neither too dry nor too wet but balanced, supple, and ready to rise beautifully.