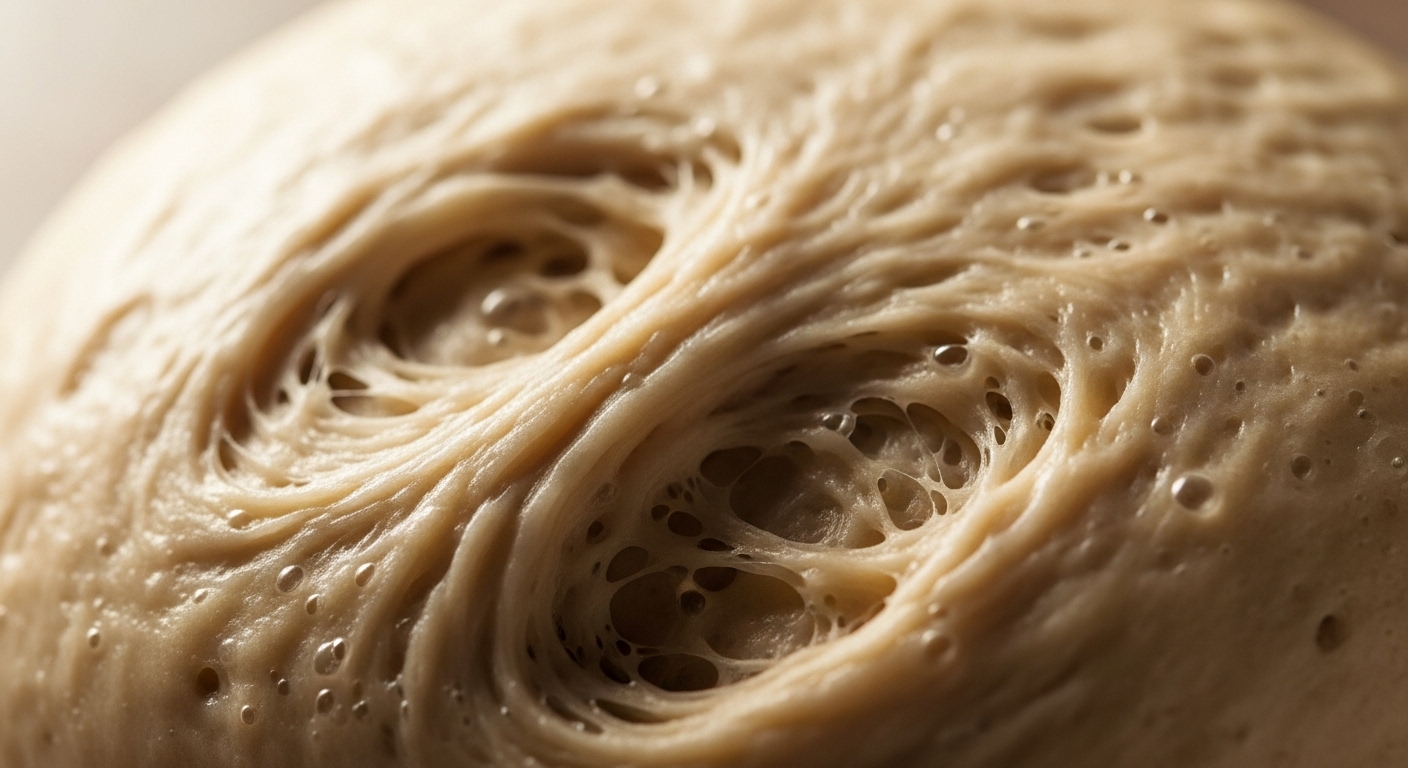
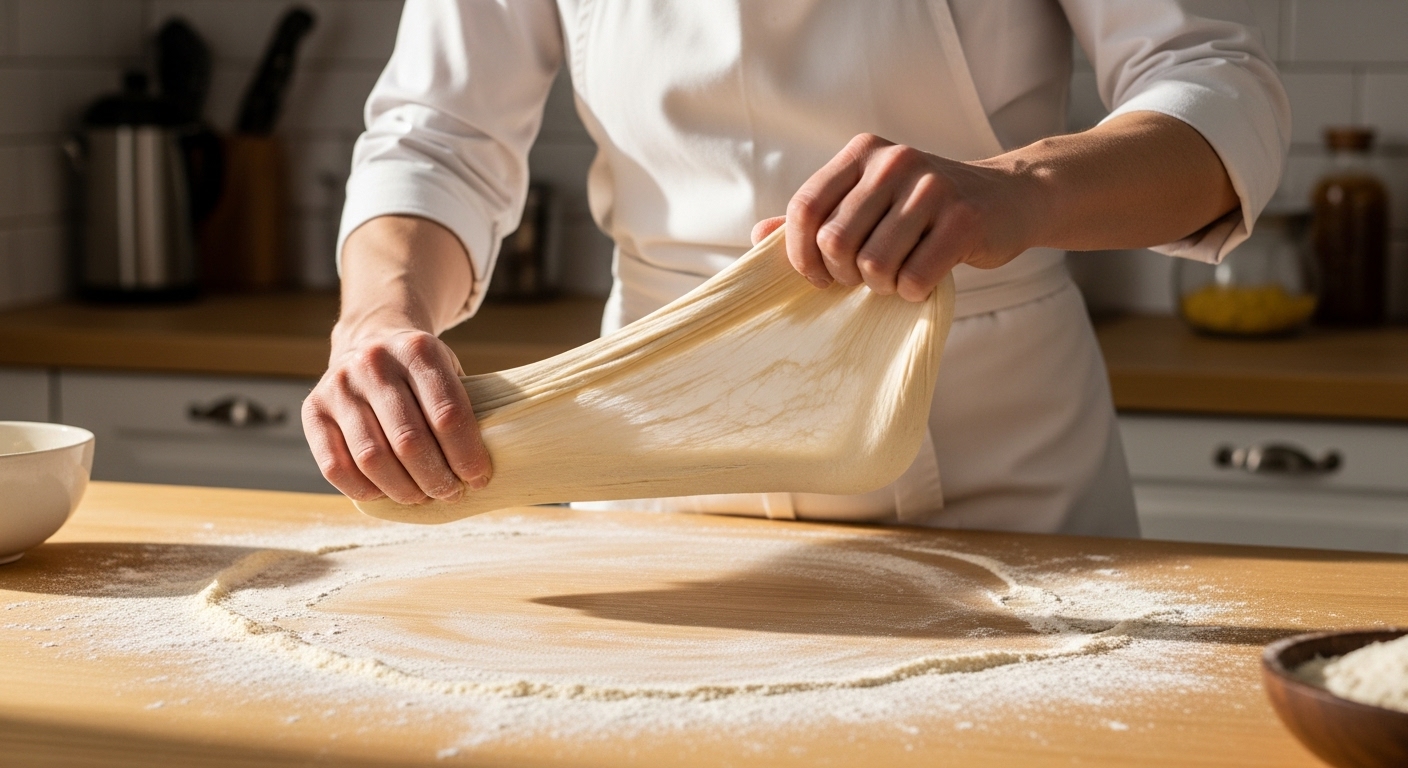
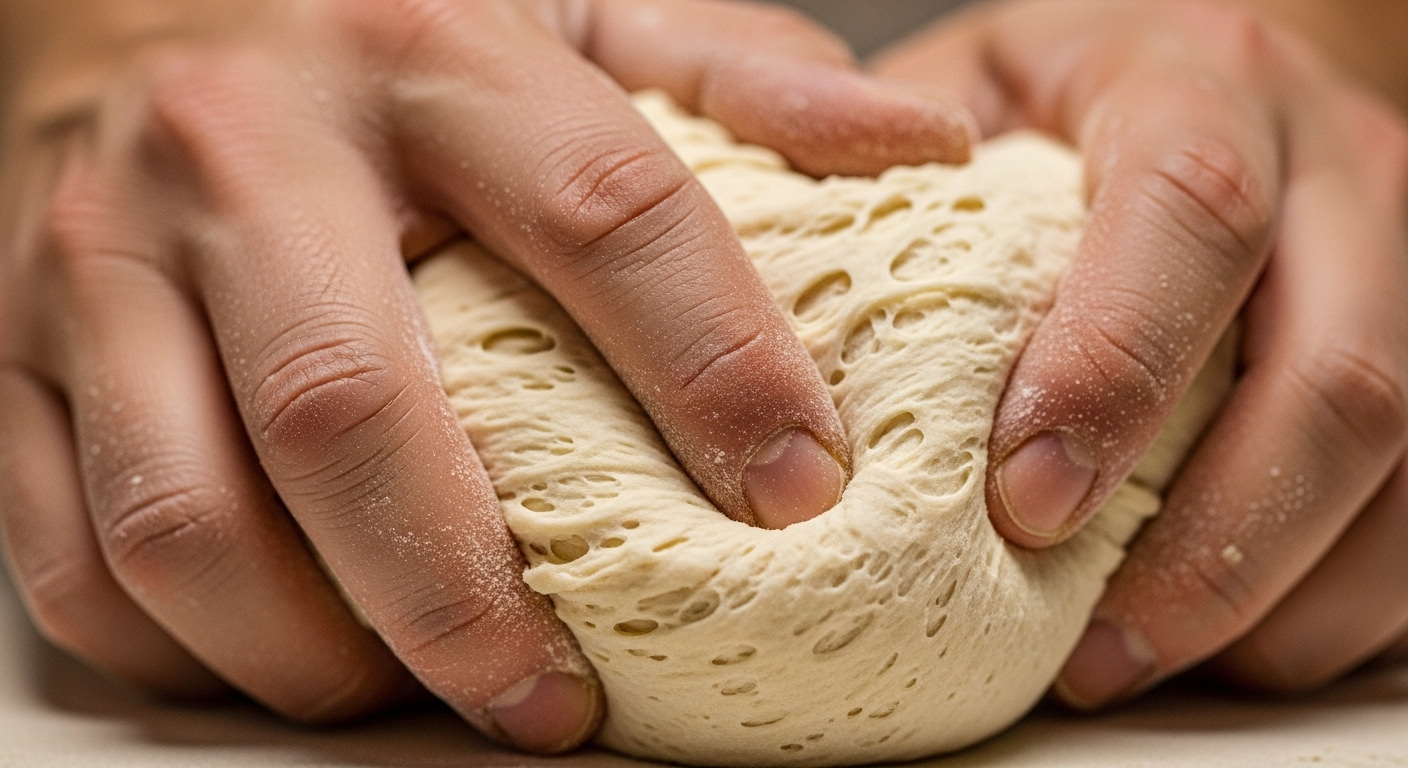
Every baker knows the magic of a perfectly elastic dough — that moment when it stretches under your hands without tearing, smooth and resilient, ready to trap air and rise into a soft, well-structured loaf. For those baking gluten-free, achieving that same stretch can feel almost impossible.
Gluten-free flours don’t contain the proteins that make wheat dough supple, meaning they can behave more like wet batter than workable dough. Yet with the right understanding of how to achieve stretch without gluten in bread dough, you can coax remarkable elasticity from gluten-free ingredients. This is the true heart of modern gluten-free breadmaking: rebuilding structure from the ground up.
Understanding Gluten’s Role in Traditional Bread
In wheat bread, gluten forms when water meets two key proteins: gliadin and glutenin. When kneaded, these proteins align into a stretchy network that traps carbon dioxide during fermentation, allowing the dough to rise and the crumb to develop chew.
Without gluten, gas escapes more easily, the dough collapses, and the crumb becomes dense or dry. To recreate that elasticity, gluten-free bakers must rely on other structural components — starches, gums, and fibres that mimic gluten’s ability to bind water and trap gas.
Rather than thinking of gluten-free bread as a weak imitation, it helps to view it as a different architectural challenge: building scaffolding without the usual beams.
Hydration: The Foundation of Elastic Dough
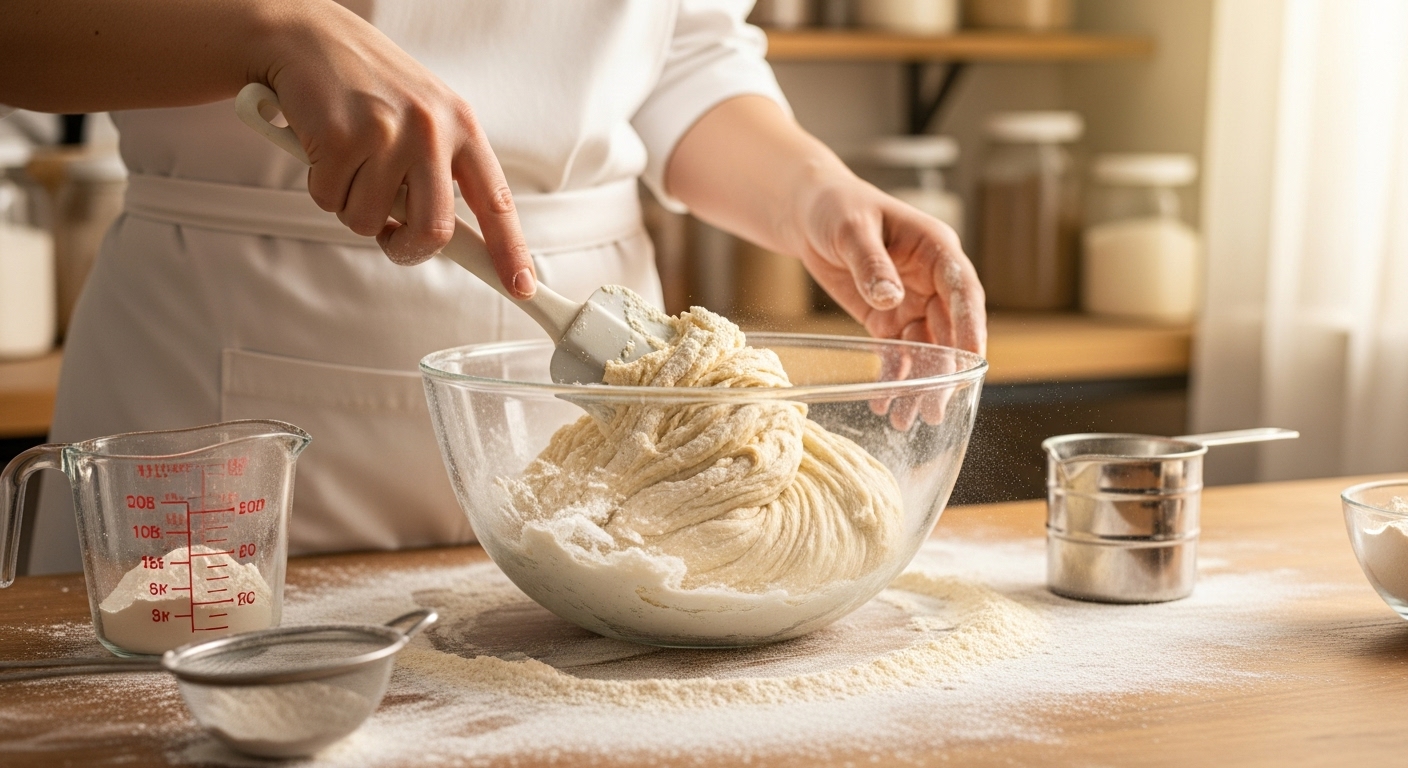
The single biggest difference between gluten and gluten-free dough is hydration. While traditional wheat doughs typically sit between 60–70% hydration, gluten-free flours need far more water — often 90–110% of the flour weight.
This high hydration activates starches and fibres, giving the dough viscosity and flexibility. Without enough water, the mixture remains gritty and stiff; with too much, it turns into an unmanageable paste.
Tips for Perfect Hydration
-
Add water gradually. Mix until you achieve a thick, sticky consistency similar to wet porridge or stiff cake batter.
-
Rest before kneading. Gluten-free flours absorb water more slowly. Let the mixture sit for 15–30 minutes before kneading or folding — this “hydration rest” allows full absorption and prevents crumbling.
-
Adjust with conditions. In dry climates, you may need more water; in humid conditions, a little less. Always judge by feel rather than formula alone.
Proper hydration is the foundation of stretch — it turns grainy mixtures into cohesive, workable dough.
Binders That Mimic Gluten’s Elasticity
Without gluten, you need another network to hold everything together. Binders act as that scaffolding, providing the elasticity and tension necessary for gas retention.
The three most effective binders for stretch are psyllium husk, xanthan gum, and flaxseed gel.
-
Psyllium husk: Derived from the outer coating of plantain seeds, psyllium absorbs many times its weight in water, forming a gel that mimics gluten’s spring. It’s the gold standard for structure and chew. Use 2–4 teaspoons per 500 g flour blend.
-
Xanthan gum: A fine powder made through fermentation, xanthan provides smooth elasticity and improves dough strength, though it can feel slightly gummy if overused.
-
Flaxseed gel: Made by mixing ground flaxseed with water, it adds flexibility and nutrition, ideal for rustic loaves or vegan recipes.
Binder Tips
-
Combine psyllium with a little xanthan for the best of both worlds — structure and softness.
-
Always whisk binders into dry ingredients before adding liquid to prevent clumping.
-
Let doughs rest longer when using psyllium, as it continues to absorb water and develop stretch over time.
Choosing the Right Flour Blend
The best gluten-free breads come from balanced flour blends. Each flour contributes different properties: starch for lightness, protein for strength, and flavour for depth.
A well-rounded blend might include:
-
40% brown rice flour – mild flavour and good structure
-
25% tapioca starch – elasticity and chew
-
20% sorghum flour – mild sweetness and flexibility
-
15% potato starch or cornflour – softness and lift
This combination provides stability without heaviness. Sorghum, in particular, adds body and moisture retention, reducing the crumbly texture that often plagues gluten-free loaves.
Avoid single-grain blends (like pure rice or corn), which produce dry, dense results. Diversity equals structure — the more varied your flours, the better your dough can mimic gluten’s properties.
Fats and Acids: The Secret to Flexibility
Fats play a crucial but often overlooked role in creating stretch. In gluten-free dough, fat coats starch granules, helping the dough move more fluidly and preventing it from drying out.
Best Options for Gluten-Free Bread
-
Olive oil adds flavour and a tender crumb.
-
Egg yolks improve pliability through natural lecithin, a powerful emulsifier.
-
Butter or coconut oil provides richness for brioche-style loaves.
A touch of acid — such as apple cider vinegar or lemon juice — strengthens the dough’s protein bonds and helps retain gas during baking. Use about 1 teaspoon per 500 g flour.
This simple addition can dramatically improve stretch and spring in your final loaf.
Fermentation and Time: Building Stretch Naturally
Fermentation is more than just flavour development — it’s the slow alchemy that gives dough elasticity. As yeast metabolises sugars, it produces gas and organic acids that interact with binders and starches, creating extensibility over time.
For gluten-free bread, time is your secret weapon. Short proofs lead to dense loaves, but a slow, overnight rise in the fridge allows water to fully hydrate the flours and gives binders time to relax. The result is dough that stretches rather than snaps.
Tips for Better Fermentation
-
Use a preferment or sponge (a small portion of dough left to rise before mixing the full batch) to boost structure.
-
Keep fermentation temperatures moderate — around 20°C to 24°C — to prevent overproofing.
-
Refrigerate dough overnight for complex flavour and improved extensibility.
By giving dough time to “breathe,” you let science do the heavy lifting.
Kneading and Folding: Technique Over Force
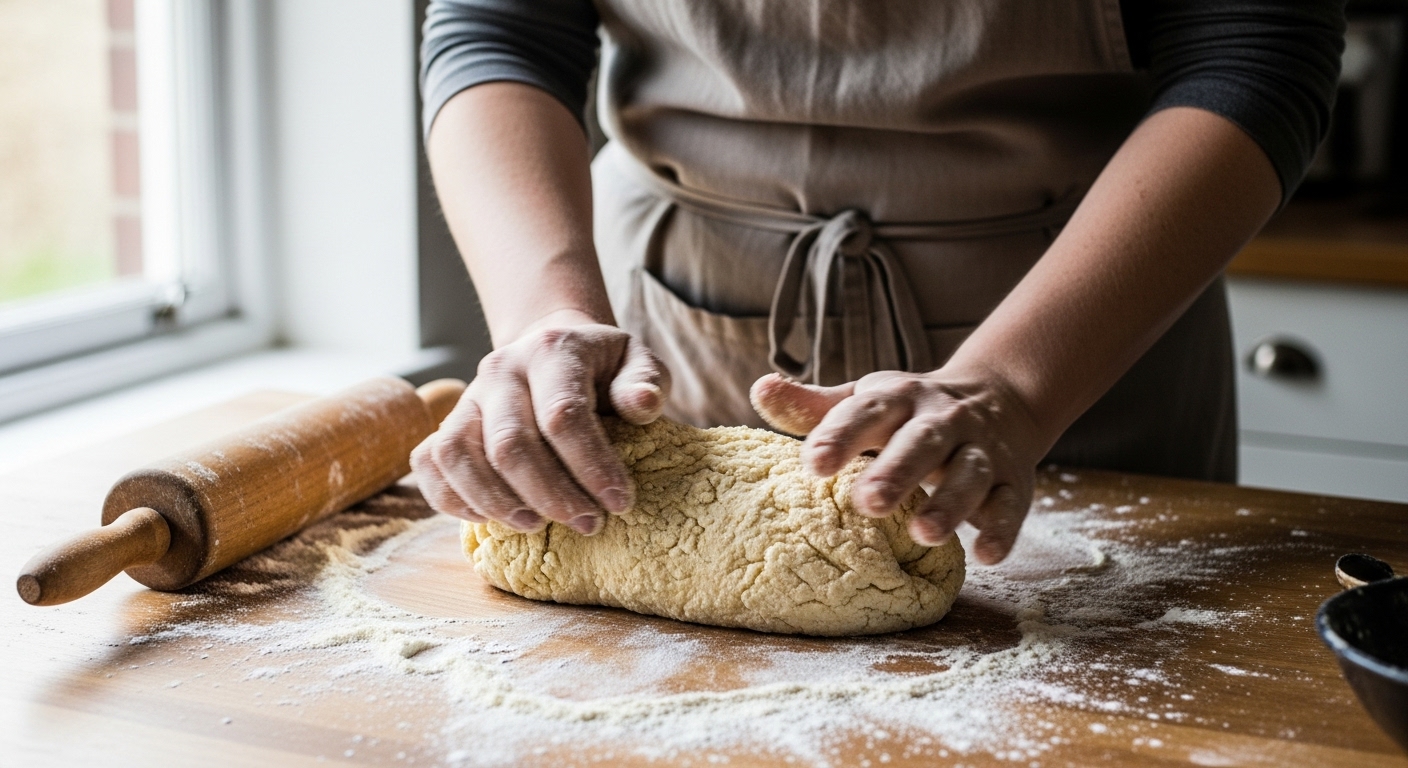
Traditional kneading develops gluten strands through mechanical action, but gluten-free dough behaves differently. Instead of forceful kneading, aim for gentle folding — lifting and turning the dough to strengthen the network without tearing it.
Wet hands or a silicone spatula are essential, as gluten-free doughs are stickier than wheat-based ones. A few folds during bulk fermentation (every 20–30 minutes for the first 90 minutes) build structure while maintaining air.
Think of it as coaxing rather than commanding the dough — your goal is flexibility, not toughness.
Hydrocolloids and Enzymes: Advanced Tools for Stretch
Professional gluten-free bakers often use hydrocolloids and enzymes to push dough elasticity even further.
-
Konjac gum: A natural fibre that thickens and stabilises. Used in small amounts (¼–½ teaspoon per 500 g flour), it can enhance chewiness and water retention.
-
Amylase enzymes: Break down starch into sugars, improving fermentation and crumb softness. A pinch (less than 0.5 g) is enough for noticeable improvement.
These ingredients are optional for home bakers but invaluable if you’re developing your own recipes or aiming for bakery-quality texture. Always measure carefully — too much can lead to rubbery or gluey results.
Baking Conditions That Support Elastic Crumb
The baking environment is the final piece of the puzzle. Gluten-free doughs benefit from moist heat and steady temperature control.
Start baking hot (around 230°C) to create a strong oven spring, then reduce to 190°C–200°C after 15–20 minutes to finish baking evenly. Using steam or a covered Dutch oven traps moisture during the first stage, allowing the loaf to expand before the crust sets.
For sandwich-style loaves baked in tins, cover lightly with foil halfway through baking to prevent over-browning while the interior finishes cooking.
Testing for Doneness
A gluten-free loaf should reach an internal temperature of 96°C–98°C when fully baked. If it cools too quickly or feels gummy, it’s underbaked — extend the time by 5–10 minutes next round.
Testing, Tearing, and Texture: How to Know You Got It Right
When you’ve achieved true gluten-free stretch, you’ll notice a few distinct signs:
-
The dough pulls apart gently, showing elasticity rather than crumbling.
-
After baking, the crumb feels soft yet springy to the touch.
-
When torn, the interior reveals small, even bubbles rather than large gaps.
A good gluten-free loaf bends slightly before breaking, showing internal cohesion rather than brittleness. If you can slice it cleanly without it collapsing or drying out, you’ve mastered the balance of hydration, binding, and time.
Troubleshooting: Fixing Common Elasticity Issues
Even with experience, gluten-free doughs can behave unpredictably. Here’s how to adjust quickly:
| Problem | Likely Cause | Solution |
|---|---|---|
| Too stiff or dry | Insufficient hydration | Add warm water, 1 tbsp at a time, and rest again. |
| Too sticky | Excess hydration or overmixing | Add a tablespoon of flour blend or chill briefly. |
| Dense crumb | Underproofed or low yeast activity | Extend fermentation or refresh yeast. |
| Crumbly texture | Too little binder or fat | Increase psyllium or add olive oil or egg yolk. |
| Collapsed loaf | Overproofed or weak structure | Reduce proof time and add more binder next time. |
The key is observation. Each batch teaches you how your specific blend behaves — and once you learn its quirks, consistency follows naturally.
Stretchy Gluten-Free Bread Base Recipe
This recipe creates a soft, elastic gluten-free dough ideal for sandwich loaves or rustic boules.
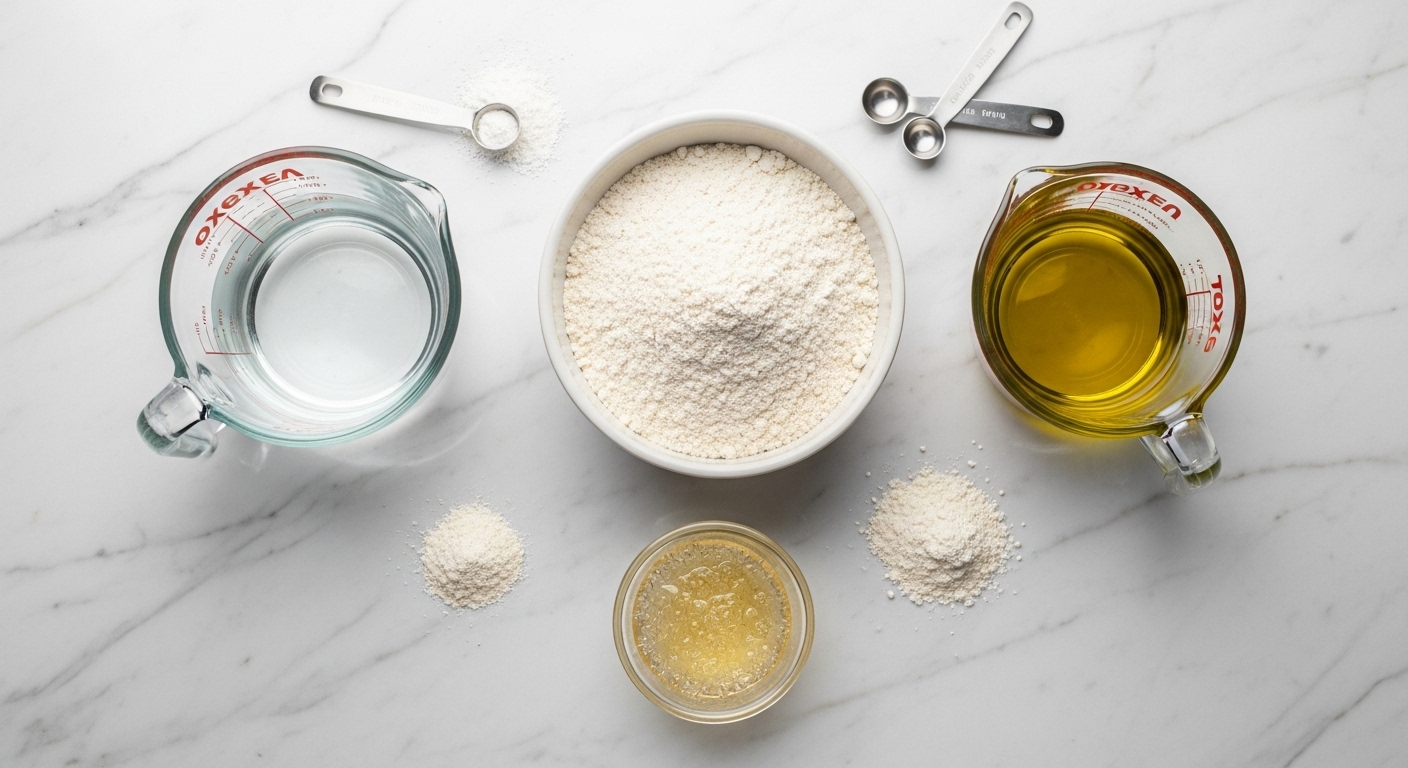
Ingredients:
-
400 g gluten-free flour blend (200 g brown rice, 100 g tapioca, 60 g sorghum, 40 g potato starch)
-
10 g salt
-
2½ tsp instant yeast
-
3 tsp psyllium husk
-
1 tbsp olive oil
-
1 tsp apple cider vinegar
-
420–450 ml warm water
Method:
-
Whisk flour, salt, yeast, and psyllium together.
-
Add oil, vinegar, and most of the water. Mix until smooth but thick.
-
Rest 20 minutes for hydration.
-
Fold gently with wet hands every 30 minutes for 2 hours.
-
Shape and place in a greased tin. Proof until doubled.
-
Bake at 230°C for 15 minutes, then at 195°C for 30–35 minutes.
-
Cool fully before slicing.
The result: a loaf with true stretch and chew — soft inside, crisp and flaky outside, and fragrant from slow fermentation.
Conclusion: How to Achieve Stretch Without Gluten in Bread Dough
The secret to great gluten-free bread lies not in mimicry but in method. When you master hydration, binders, and fermentation, your dough becomes alive again — stretching, rising, and transforming into bread that feels like bread.
Elasticity without gluten isn’t a myth; it’s a skill. It demands science, patience, and care, but the reward is a loaf that bends, tears, and tastes every bit as satisfying as its wheaten cousin. With practice, you’ll discover that gluten-free baking isn’t about restriction — it’s about innovation in every crumb.